Small gardens can feel exposed. A neighbouring window looks straight onto the patio, a fence line feels bare, and every time someone sits outside it feels like being on display.
A privacy screen can fix that quickly, but many options either look temporary or cost more than expected. The best screens do three things at once: they block sight lines, they look intentional, and they survive British weather.
This weekend project outlines a simple approach that works for many small gardens. It focuses on placement, proportions, and materials that age well. The result is a screen that looks designed, not improvised.
Start with the sight line (not the screen)
Before buying anything, identify the exact line that needs blocking. Stand where people normally sit: at the table, by the back door, or near the path. Look toward the points of exposure: a window, a raised deck, a gap in fencing.
Most screens fail because they are built in the wrong place. A screen that blocks the correct angle can be narrower and lighter. A screen built “somewhere near the problem†often has to be huge to work.
Mark two points with garden canes or tape: where the screen could start and where it could end. That becomes the working width.
Pick a style: slats, panel + climber, or willow
The best option depends on how permanent the solution needs to be and how much maintenance feels realistic.
- Slatted screen: modern, clean, and easy to paint or stain. Works well on patios.
- Panel + planting: a simple trellis or panel with climbing plants for a softer look.
- Living screen: woven willow panels or living willow features for a natural, British-garden feel.
For a more built-in look, keep the design consistent: one material, one finish, and a repeating pattern.
The proportion trick that makes it look designed
People often build screens too short. If the goal is privacy while seated, the screen should block a seated line of sight, but it still needs to be tall enough to look intentional.
In many UK gardens, 1.5–1.8 metres works for seated privacy; confirm by checking the exact sight line from the main seating spot. Taller is not always better, but a screen that is clearly “architectural†tends to look more premium than a half-height divider.
Another trick is to create a small gap at the bottom. Lifting the panel slightly off the ground can make it look lighter and helps with drainage and rot prevention.
Materials that look good and handle UK weather
A small garden screen fails quickly if it warps, rots, or looks stained after one winter. Materials and finish matter.
- Treated timber: a reliable base for slats and frames. Look for straight pieces and seal cut ends.
- Exterior-grade fixings: stainless or exterior-rated screws resist rust streaks.
- Finish with purpose: a stain shows grain; a paint gives a crisp, modern look. Either is fine if it is designed, not random.
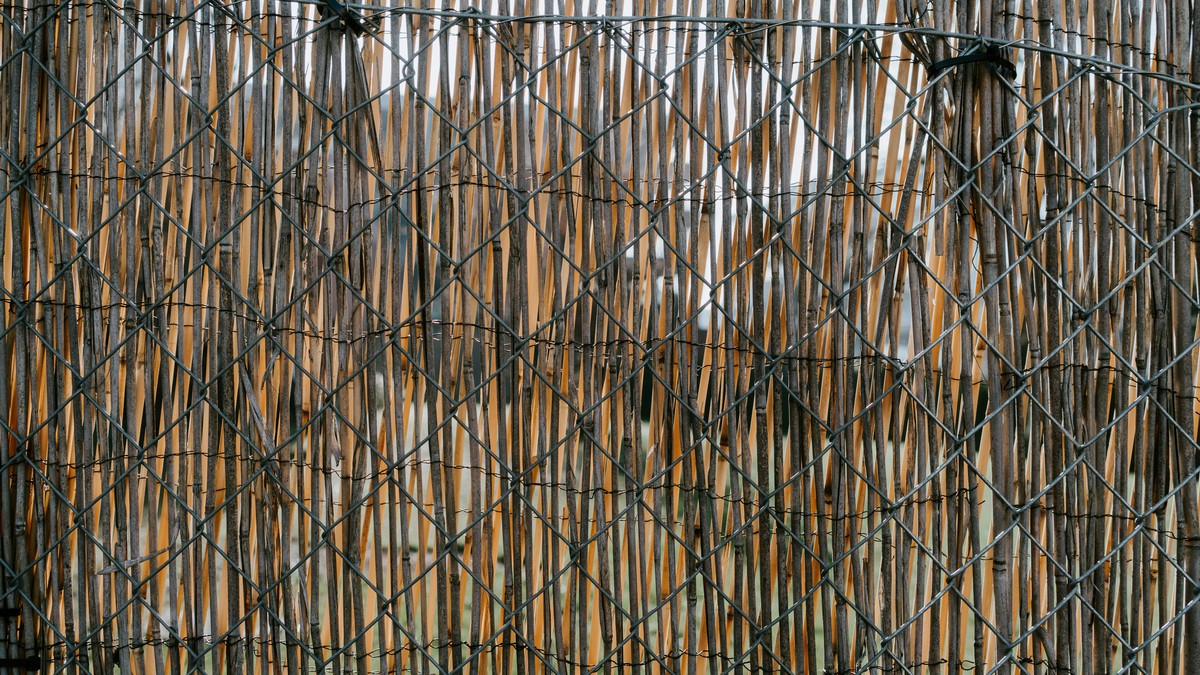
- Natural panels: willow or hazel screens add texture and look at home in UK gardens.
If a natural screen is the aim, avoid anything that looks like a cheap reed roll. A thicker weave with a solid frame tends to read as “crafted†rather than “temporary.â€
A simple weekend build plan (high level)
The goal is a clear sequence that a typical weekend can hold.
- Friday evening: measure the width and height, choose the style, and gather materials.
- Saturday morning: set posts or fix a frame to an existing wall/fence (whichever is appropriate for the space).
- Saturday afternoon: attach panels or slats, keeping spacing consistent.
- Sunday: finish edges, seal cut ends, apply stain/paint, and tidy the base area.
The key is consistency. Even simple materials look premium when spacing is even, edges are clean, and the finish is deliberate.
Two upgrades that make it look built-in
A screen looks high-end when it feels intentional in the wider space.
- Add a frame: a simple border around a panel makes it look built-in rather than attached.
- Add light: a single warm wall light or spike light aimed at the screen (avoid harsh cool-white).
- Repeat a detail: match the screen colour to a planter, bench, or fence trim for a cohesive look.
Common mistakes that make screens look cheap
- Random height: mismatched tops draw attention to the DIY nature of the build.
- Uneven spacing: slats that drift over time look messy. Use spacers during installation.
- No finishing: raw cut ends and unsealed timber age fast in damp conditions.
- Wrong placement: a screen that does not block the sight line becomes decoration rather than a solution.
Start by marking the sight line and choosing one consistent style. Then build a clean frame and finish it properly. A well-placed screen changes how a small garden feels, often more than buying new furniture or plants.